3D map for your Ionic app
Use CesiumJS to add a 3D map to your Ionic app

Hi friends 👋
Parham here, with another step-by-step guide.
In this article, we will create an Ionic/Angular app that uses CesiumJS to render a 3D map and render some 3D layers on top of it to show terrain and buildings.
3D maps are excellent 😎 and visualising your data in 3D can take it to the next level. 🤭
What if you can have a 3D map rendered in your browser with just writing one line of code.
That's right, using CesiumJS, you can easily have a 3D map in your app.
A quick preview of what is the final results:
What is CesiumJS?
CesiumJS is an open-source JavaScript library for creating world-class 3D globes and maps with the best possible performance, precision, visual quality, and ease of use.
To get an idea of CesiumJS Capabilities, check some of their examples.
Here is what you can expect to learn from this tutorial and the difficulty level of each part:
Create a blank app using Ionic CLI.
You will learn how to use Ionic CLI to create an Ionic/Angular app. (Difficulty level: simple)
Use CesiumJS to render a map
You will learn how to implement a basic map integration with Ionic, Cesium & Angular. (Difficulty level: Intermediate)
Use Cesium Camera
You will learn how to use the Cesium Camera flyTo method to fly to a destination. (Difficulty level: Intermediate)
Here is the final demo link https://ionic-angular-cesium-3d-map.vercel.app/
And here is the Git repo: https://github.com/pazel-io/ionic-angular-cesium-3d-map
Let's start
1. Create the base app using Ionic CLI
If you have not installed Ionic CLI before, please head to https://ionicframework.com/docs/intro/cli and follow the instructions to install the CLI.
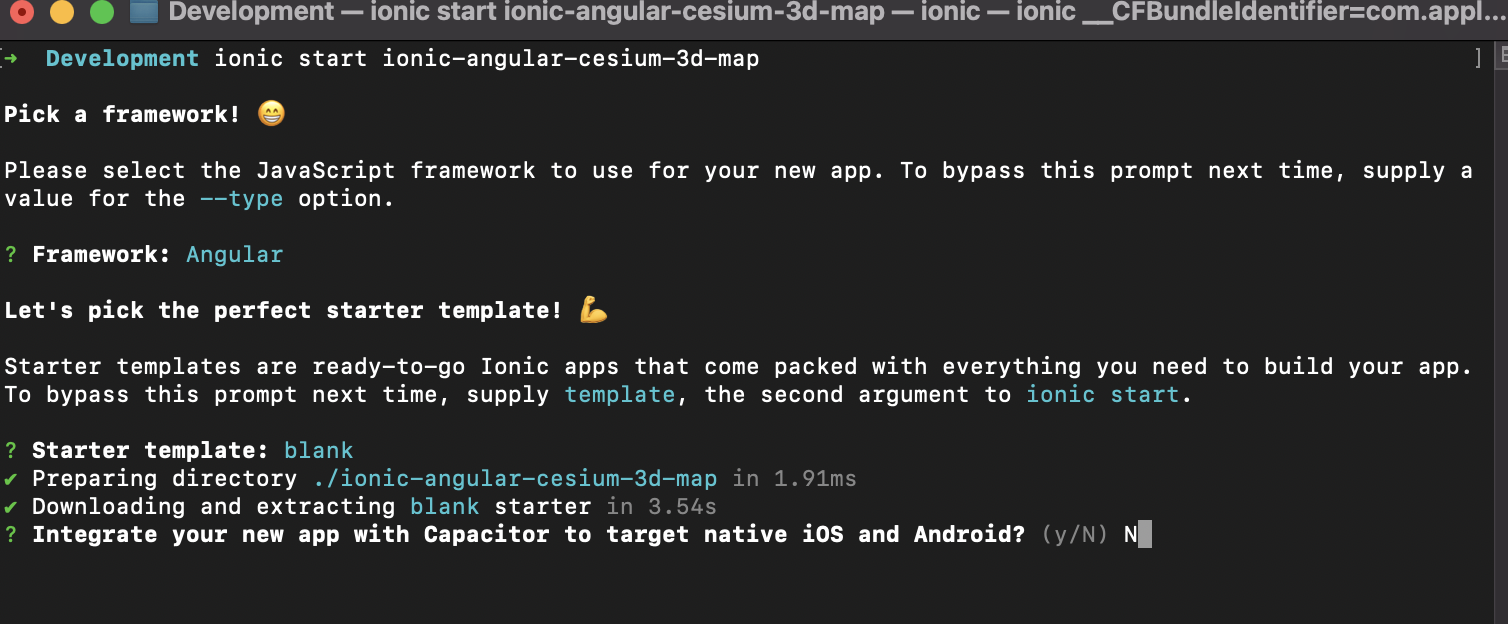
Next, let's create an app using CLI by running ionic start ionic-angular-cesium-3d-map. CLI should prompt you to choose the front end tech and more options.
I am going with Angular and the blank starter project.
Ionic CLI asks if you like Capacitor integration, which is not required for this tutorial. After selecting the options, CLI will download all required npm packages. (this might take few minutes) You will eventually see some logs indicating that the setup is done.
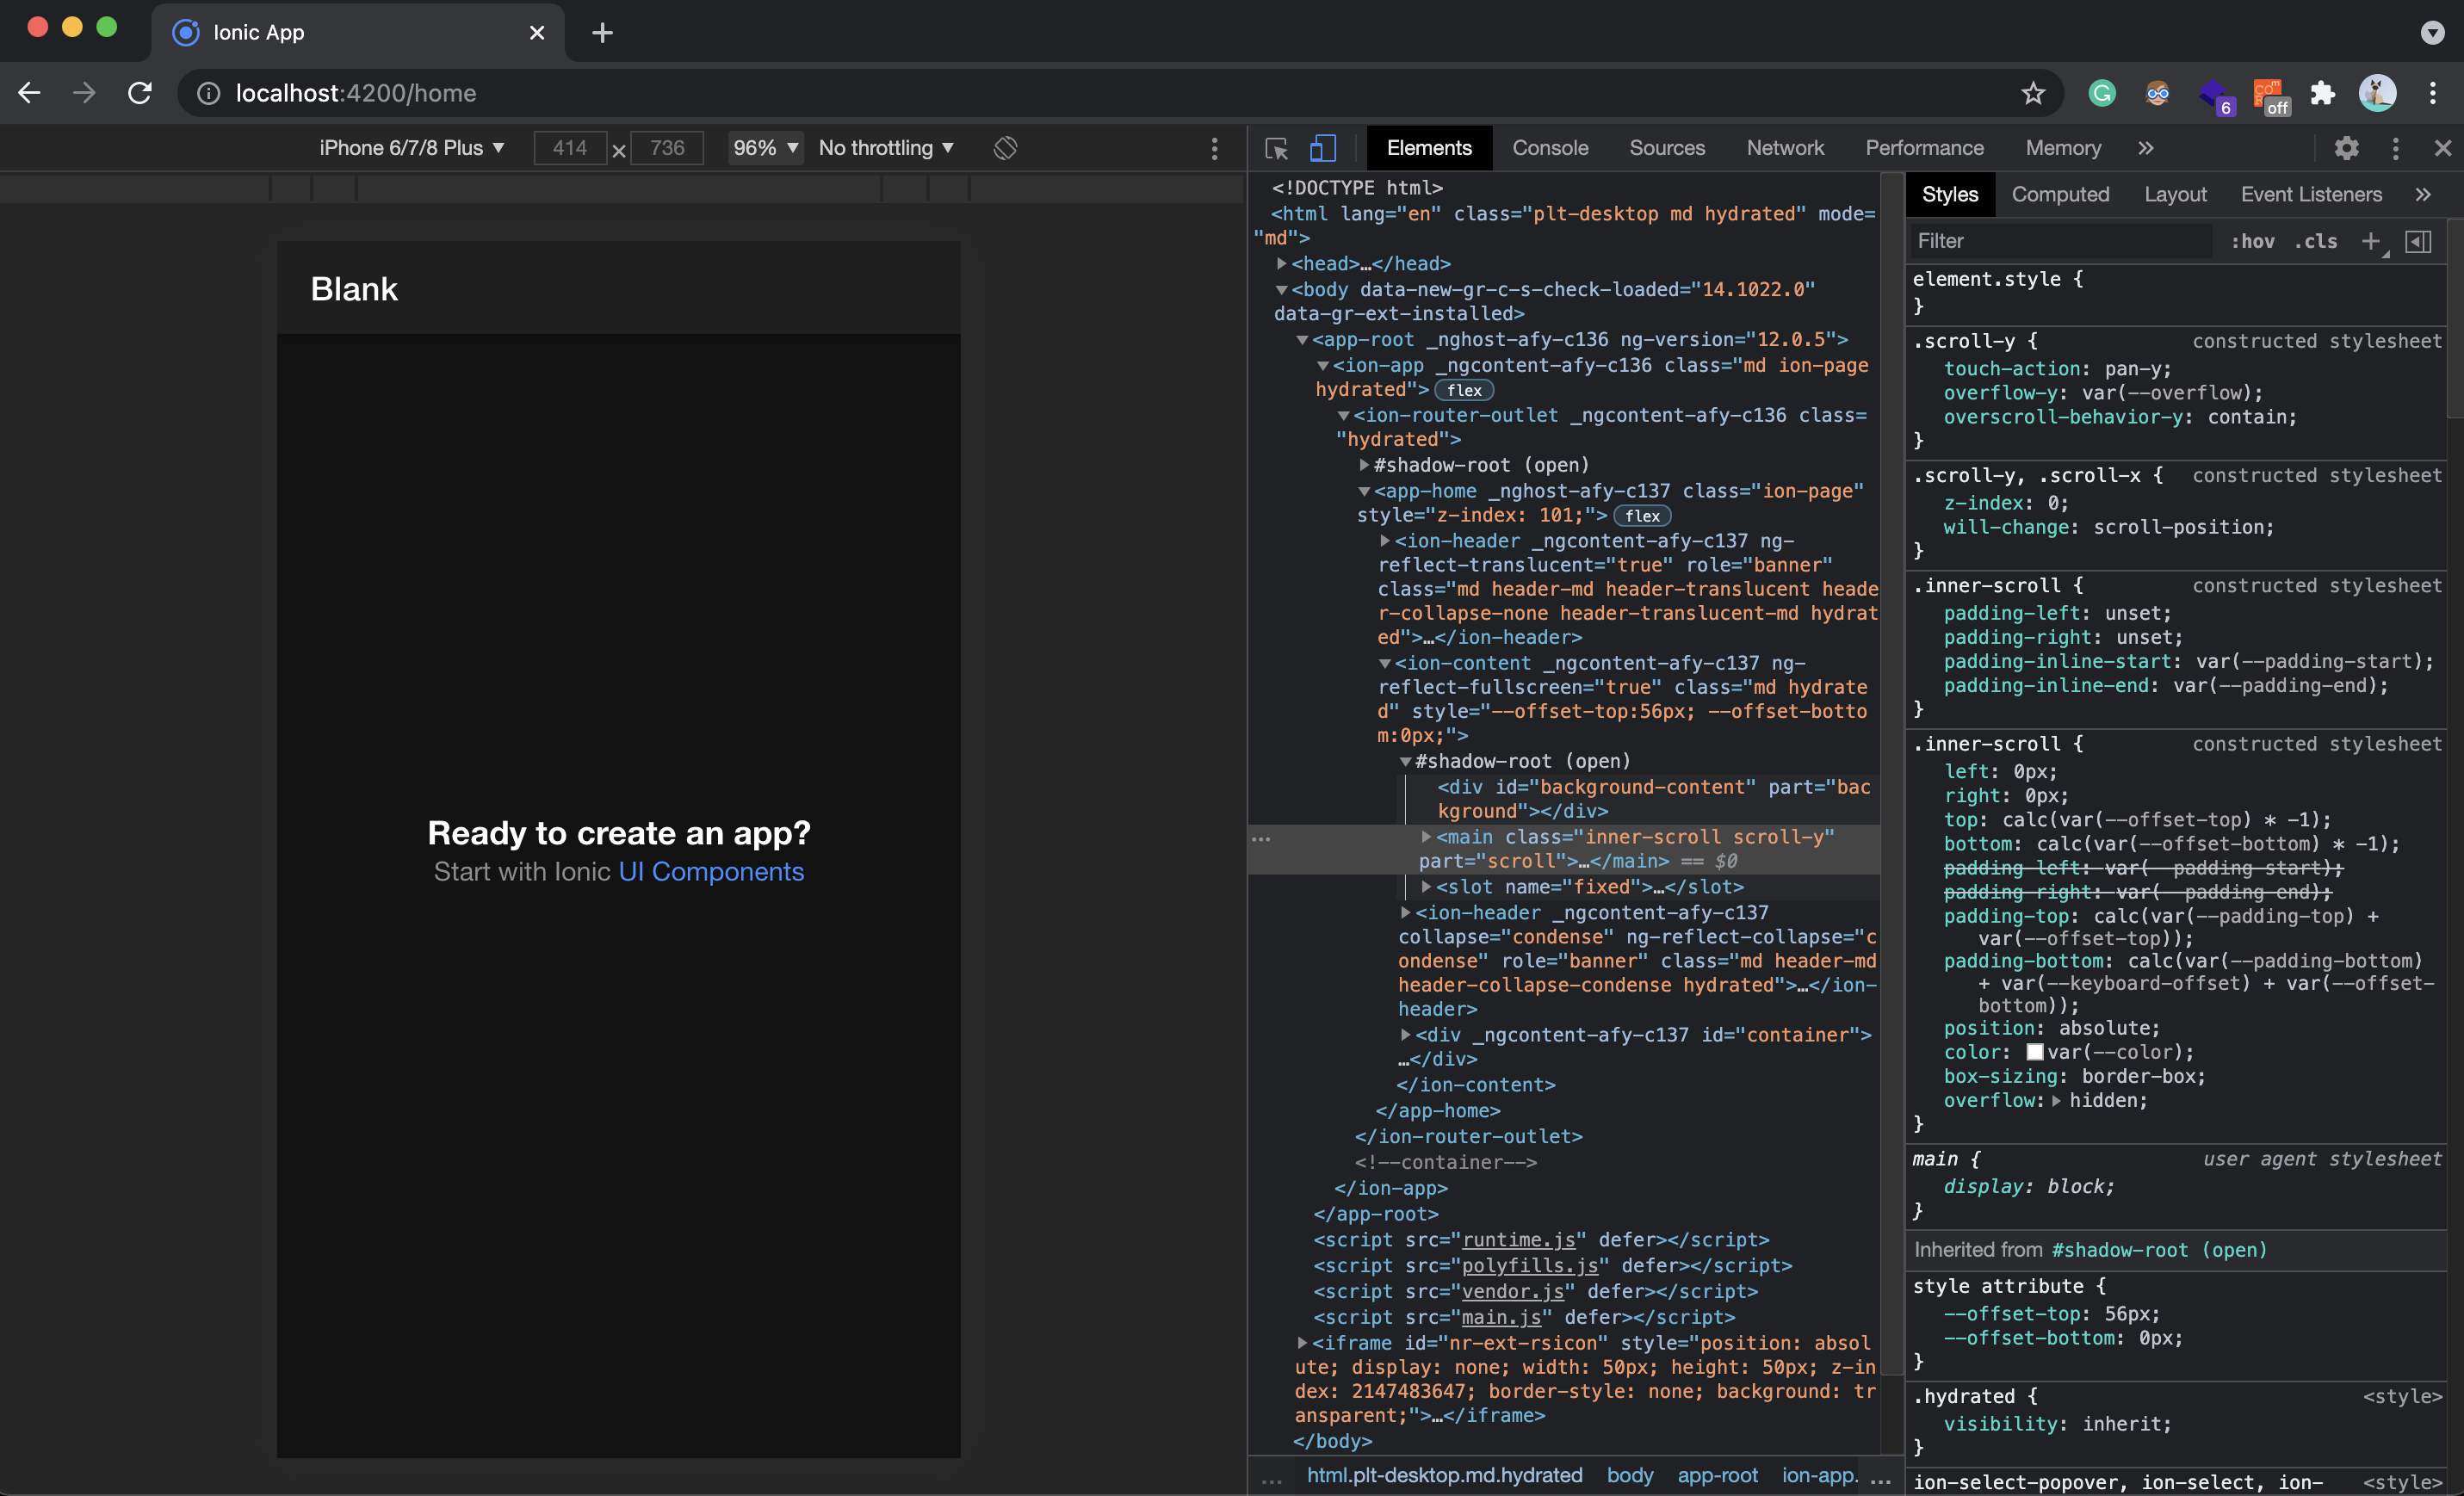
Let's cd to the new project we just created and run ionic serve.
This command will run a local web server and open the app in your default browser. (by default port 8100)
2. Use CesiumJS to render a map
There are three pieces involved here to make it work.
- Cesium JavaScript file
- Cesium CSS file
- Cesium assets file
Start by adding the Cesium npm package
npm install --save cesium
Configure Cesium in Angular
Now that we have installed Cesium, we need to include its files (CSS and necessary assets) in our project. We can use angular.json located at the root directory of the project to add these files. Open angular.json and add the CSS file in the styles section and the whole build Cesium folder in the assets array.
"assets": [
{
"glob": "**/*",
"input": "node_modules/cesium/Build/Cesium",
"output": "./assets/cesium"
},
],
"styles": [
"node_modules/cesium/Build/Cesium/Widgets/widgets.css",
"styles.css"
]
Display the Viewer
We will use the home component to host the Cesium viewer. All Cesium needs is to have a reference to a DOM element that is designated to render the map.
The easiest way to do this in Angular is to use the @ViewChild property decorator that configures a view query.
View queries are set before the ngAfterViewInit callback is called.
This what you need to add to the home.component.html
<div class="my-cesium" #myCesium></div>
and this is the code for accessing the myCesium element in home.component.ts.
    @ViewChild('myCesium')
public myCesium: ElementRef;
The next thing is to initialise the Cesium viewer.
We use the Angular AfterViewInit hook for this to make sure our ElementRef is initialised first.
Next, you need to pass the DOM reference to the Cesium.Viewer constructor.
    import * as Cesium from 'cesium';

public ngAfterViewInit(): void {
    const viewer = new Cesium.Viewer(this.myCesium.nativeElement);
}
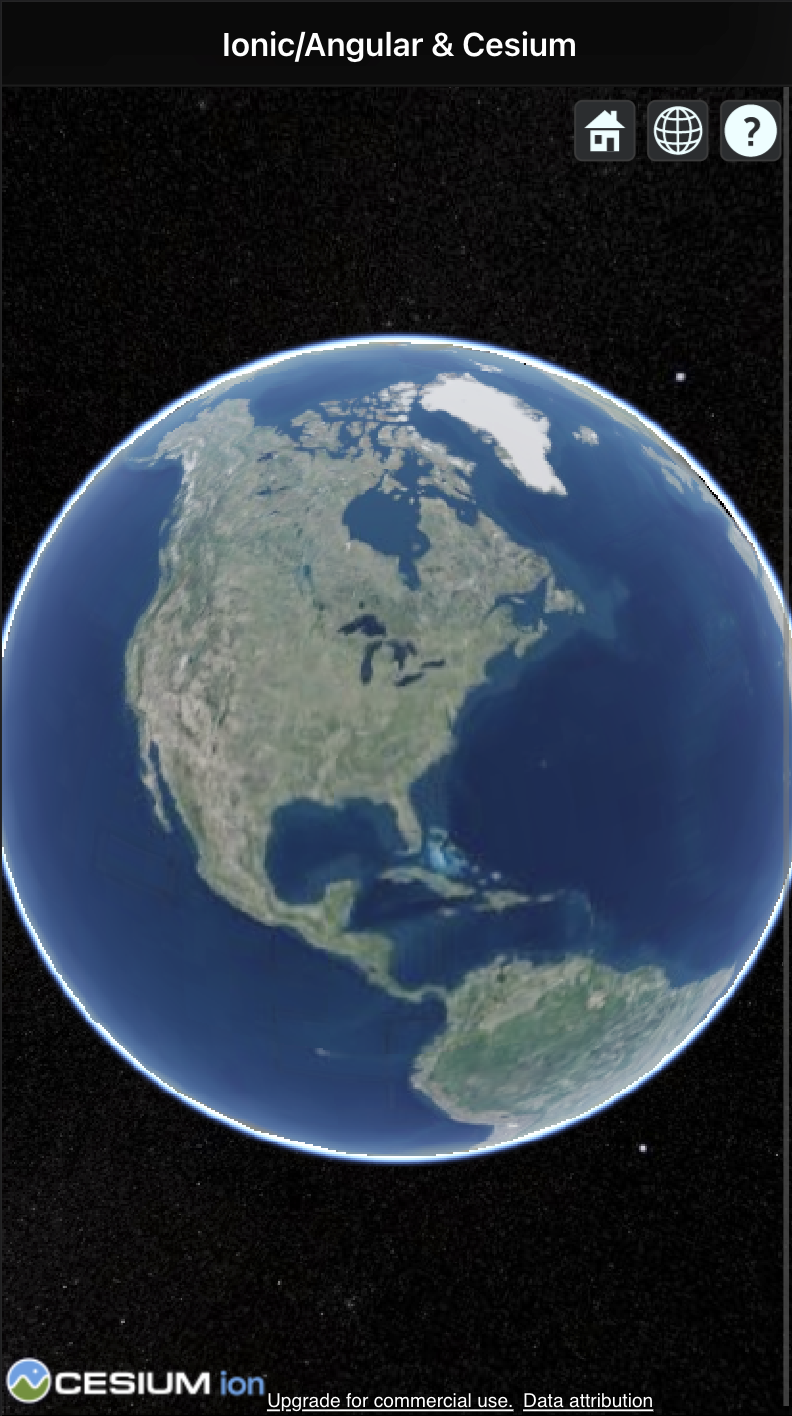
Congrats! Now you should see a 3D globe rendered on your home page with some default Cesium controls.
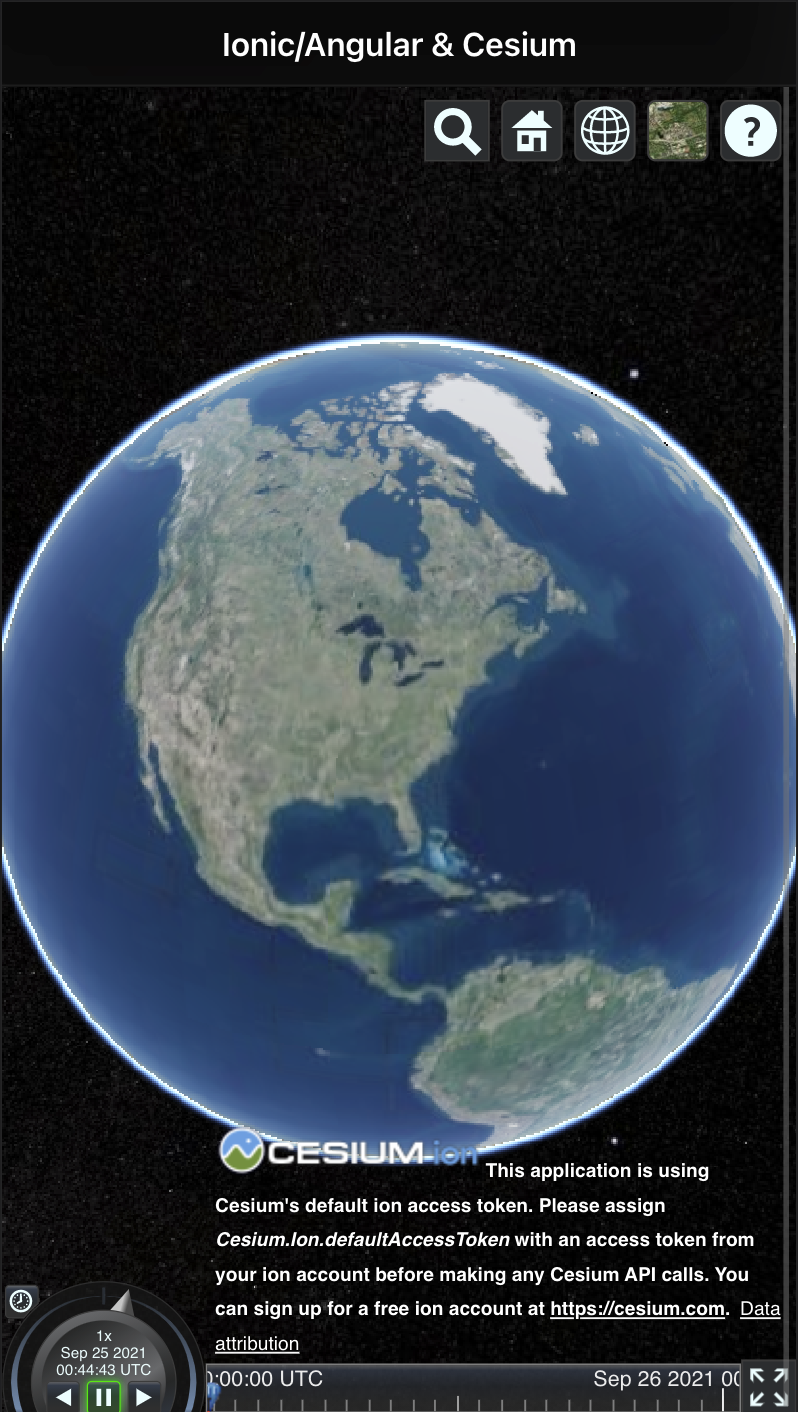
We can pass some more configurations to customise the Cesium viewer. Check Cesium docs for a full list of options.
To simply my view for mobile I will disable some of these default options. Here is the updated code.
    public ngAfterViewInit(): void {
    if (environment.cesiumAccessToken) {
    Cesium.Ion.defaultAccessToken = environment.cesiumAccessToken;
}
this.viewer = new Cesium.Viewer(this.myCesium.nativeElement, {
    //Use Cesium World Terrain
    terrainProvider: Cesium.createWorldTerrain(),
    //Hide the base layer picker
    baseLayerPicker: false,
    // homeButton: false,
    geocoder: false,
    timeline: false,
    animation: false,
    fullscreenButton: false,
});
}
Couple of things to notice
terrainProvideradds terrain data to your globe so you can see these terrains when you look at the surface. Pretty neat.defaultAccessTokenremove the message that is displayed when you use the default access token.
You can create an account and get the access token for free for non-commercial use.
Here is the result
3. Use Cesium Camera
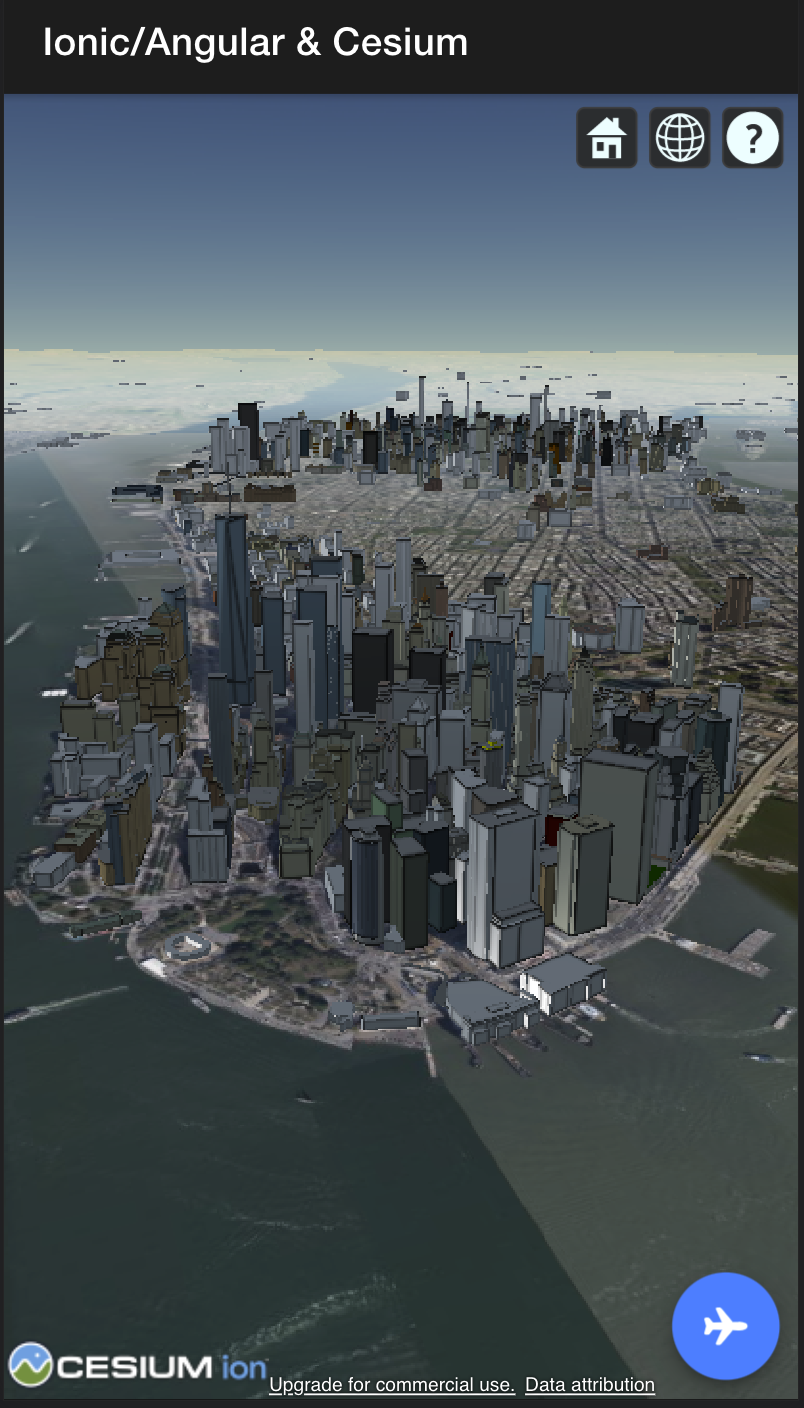
Next stop, we will add some 3D building data to the globe and fly from the initial location to the buildings.
When we created a Cesium Viewer, we implicitly built a Cesium.Scene.
Cesium.Scene is the container for all 3D graphical objects and state in a Cesium virtual scene, and it has a reference to the Cesium.Camera
Cesium.Camera let us to flyTo a location.
   this.viewer.scene.camera.flyTo({
    destination: Cesium.Cartesian3.fromDegrees(-74.019, 40.6912, 750),
    orientation: {
        heading: Cesium.Math.toRadians(20),
        pitch: Cesium.Math.toRadians(-20),
    },
})
In the code above, we are telling Cesium to fly from the current location to the destination. In this example, the destination is provided in Degrees (longitude, latitude, height). We are also setting the orientation of the camera.
Next, let's add some 3D building data. Cesium already has a built-in layer for this, and you can add your data as well.
The built-in one is called the Cesium OSM Buildings layer, a global base layer with over 350 million buildings derived from OpenStreetMap data. It's served as 3D Tiles, an open standard created by Cesium.
this.viewer.scene.primitives.add(Cesium.createOsmBuildings());
Next we add an Ionic Fab button to fly us to the destination.
<ion-content [fullscreen]="true">
    <div class="my-cesium" #myCesium></div>
    <ion-fab vertical="bottom" horizontal="end" slot="fixed">
        <ion-fab-button (click)="letsGo()">
            <ion-icon name="airplane"></ion-icon>
        </ion-fab-button>
    </ion-fab>
</ion-content>
and here is the code for the component
  public letsGo() {
    const slow$ = of(this.viewer);
    slow$
        .pipe(
            take(1),
            tap(() => this.viewer.scene.camera.flyTo({
                destination: Cesium.Cartesian3.fromDegrees(-74.019, 40.6912, 750),
                orientation: {
                    heading: Cesium.Math.toRadians(20),
                    pitch: Cesium.Math.toRadians(-20),
                },
            })),
            delay(2000),
            tap(() => {
                if (!this.osmBuildingInit) {
                    this.viewer.scene.primitives.add(Cesium.createOsmBuildings());
                }
            }),
            tap(() => this.osmBuildingInit = true),
        )
        .subscribe();
}
I am using RxJS to add some delays between flying and adding building data, but you can do them at once.
Now, if you click the fab button, you will fly to the destination and see some building data in 3D.
If you are interested in adding your 3D data, refer to this Cesium article Visualise a Proposed Building in a 3D City
Conclusion
CesiumJS is one of the most advanced 3D libraries when it comes to maps and Geo-Spatial data.
We learned how we could use it to integrate a 3D map experience into our Ionic application easily.
This example uses Angular, but as you can see, all the heavy lifting is done by Cesium, so what JS framework you use with your Ionic is your preference.
Thanks for reading. As usual, if you have any questions, please leave me a comment here or DM me on Twitter.
Resources
Here is the demo: demo deployed using Vercel
Here is the code repository: ionic-angular-cesium-3d-map
Contact
Twitter: _pazel